Tutorial for popup card in a box
This will show you how easy it is to put together a 5 1/2 x 4 1/4 popup box card ... using just a regular sheet of cardstock 8 1/2 x 11... and some coordinating paper... great way to use those scraps!!! Here is the card I made in this tutorial... lets get started... it really is "easy-peasy".
The supplies you will need....
8 1/2 x 11 card stock
scoring board
coordinating designer paper
bone folder
snail adhesive and sticky strip adhesive
First, trim your card stock to 9 x 7 1/2. With the 9" side up score at 2 1/8, 4 1/4, 6 3/8, and 8 1/2
Flip 90 degrees and score at 3". Next trim 2" off the 7 1/2" side - now your piece is 9 x 5 1/2. Keep that piece you cut off - we'll be using some of it later. You should have 4 three inch and 4 two inch rectangles within your score lines as shown below.
Next you're going to set aside that 2" strip and concentrate on what will be the box. The "rectangles" on the right side of the above picture measure 2" and those are going to be your flaps so go ahead and cut each one to the score line. Using your bone folder make your folds crisp - makes for a cleaner box. The little piece in the lower right gets removed completely. With me so far?
Now... I went ahead for this step and cut out my dsp for the outside of the box as shown above and the 2" flaps are now cut to the center score line.
DSP measurements
Small flaps - 2 X 2 3/8 - cut 3 (or 6 if you want to decorate the underside of the flaps as I have done (below) - I think it looks nicer when the card is taken from the envelope.
Sentiment piece - 2 x 5 3/8 - this will also be the back side of the card/box
Large flaps for the box bottom - 2 x 2 7/8 - cut 3 - while it is unnecessary to put dsp on the inside of the box - but if you wish to, cut 6 of these.
The white piece will be the back of your card where you can write or stamp your sentiments.
It's up to you at this point whether you want to decorate the sides of your box card before you tape it together. I find it's ok either before or after as the card folds up nicely and makes it easy to work on the sides.
Time to use your sticky strip on that little tab and make your card a box.
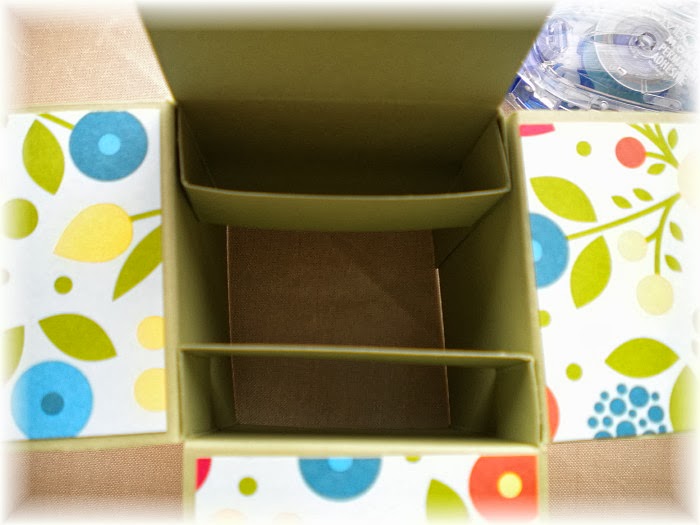
Take that 2" strip that you cut off, and cut it at the point where you will have 1/2" score lines on each side as shown above. Now cut that piece in half lengthwise, so you have two 1" pieces. These are going inside to affix your goodies to. Use sticky strip since these braces will need to be secure.
I went ahead and prepped 3 of those little 'braces' to add stability to the box. It also gives you one more surface upon which to place decorations - love that!!
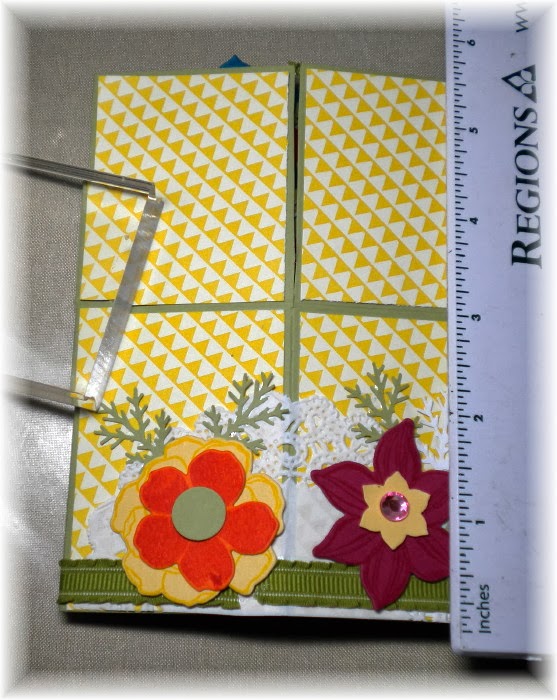
Start your decorating and have fun with this. It's not as intimidating as you thought, right? I used SU's Secret Garden stamp set and dies for this project. And, my favorite little Martha Stewart fern punch got lots of use too. It doesn't matter what you choose, it's gonna be cute; just be sure to try to keep the deco's in the middle. Too much hanging out (like my turquoise butterfly) and it's going to require a larger envelope.
Showing the box 'closed' and ready for mailing.
See? It really is just 5 1/2 x 4 1/4

A couple more views of the sides.

Here are the two together.

I hope you've enjoyed this tutorial. Give it a try... lots of decoration possibilities! And, as always, comments are always welcome. Thanks for visiting.
Happy Stamping'
Pat


No comments:
Post a Comment
Note: Only a member of this blog may post a comment.